How to Assemble a Feather Flag: A Step-by-Step Guide
Introduction
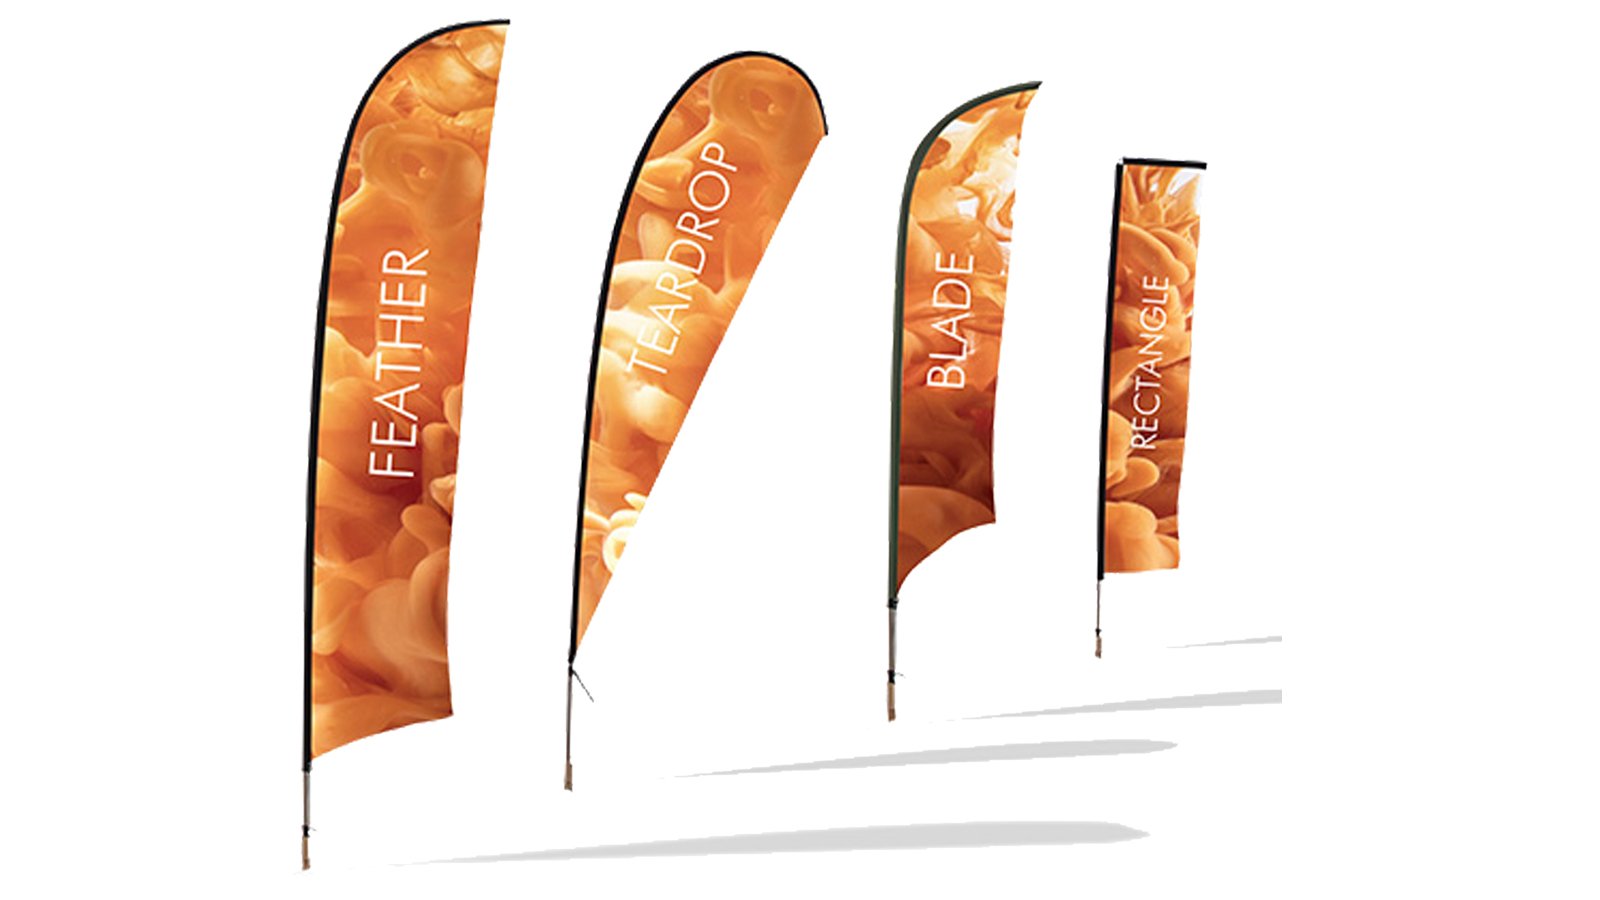
Feather flags are a popular way to attract attention and promote your business or event. These eye-catching flags are lightweight, portable, and easy to assemble. In this step-by-step guide, we will walk you through the process of assembling a feather flag, ensuring that you have all the necessary information to make your flag stand tall.
Step 1: Unpack the Contents
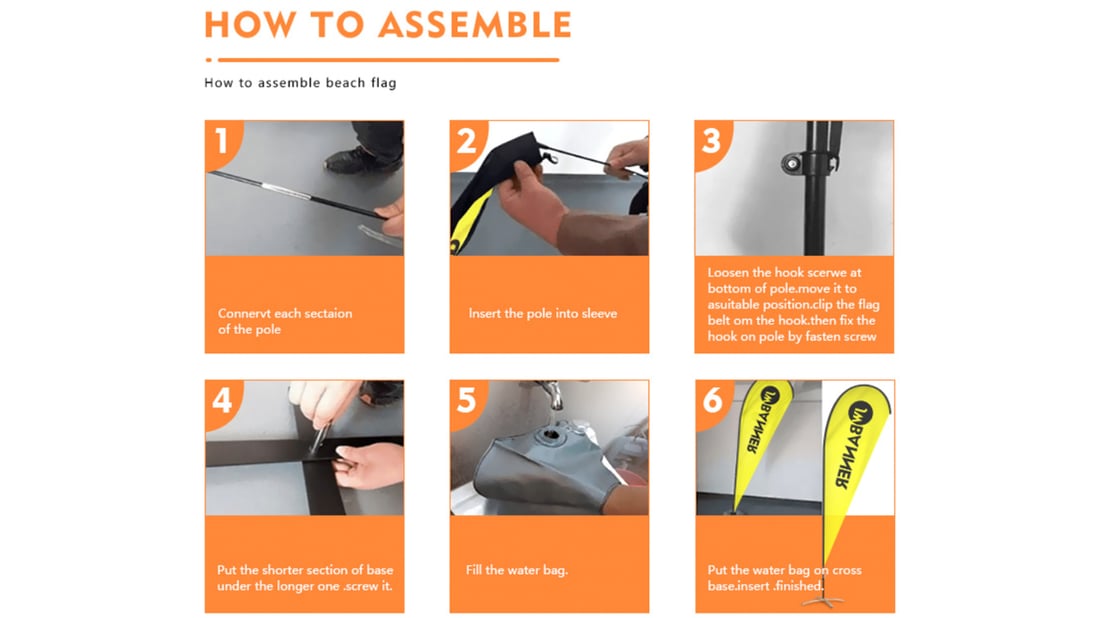
Before you begin assembling your feather flag, make sure you have all the necessary components. These typically include the flag itself, a pole set, a ground stake, and a carrying bag. Lay out all the components on a flat surface, ensuring that nothing is missing or damaged.
Step 2: Connect the Pole Sections
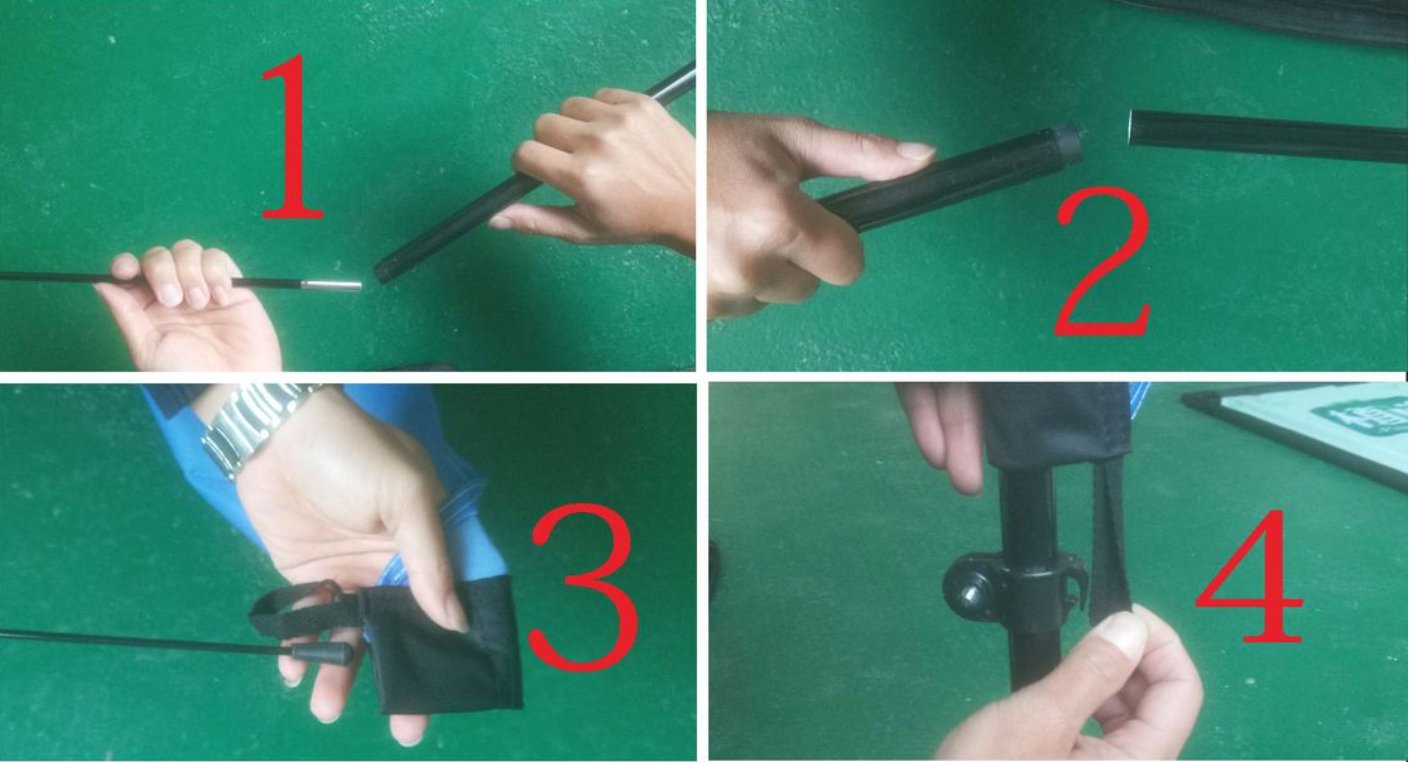
Most feather flags come with multiple pole sections that need to be connected. Start by inserting the first pole section into the bottom sleeve of the flag. Gently push the pole section all the way through until it reaches the top sleeve. Repeat this process for the remaining pole sections, ensuring that they are securely connected.
Step 3: Attach the Flag to the Pole
Once the pole sections are connected, it's time to attach the flag. Slide the sleeve at the top of the flag onto the top of the pole, ensuring a snug fit. Make sure the flag is centered and facing the desired direction.
Step 4: Secure the Flag with Bungee Cords
To prevent the flag from sliding down the pole, use the provided bungee cords to secure it. Wrap the bungee cords around the pole and flag, ensuring a tight and secure hold. This will help your feather flag withstand windy conditions and stay upright.
Step 5: Choose the Right Base Option
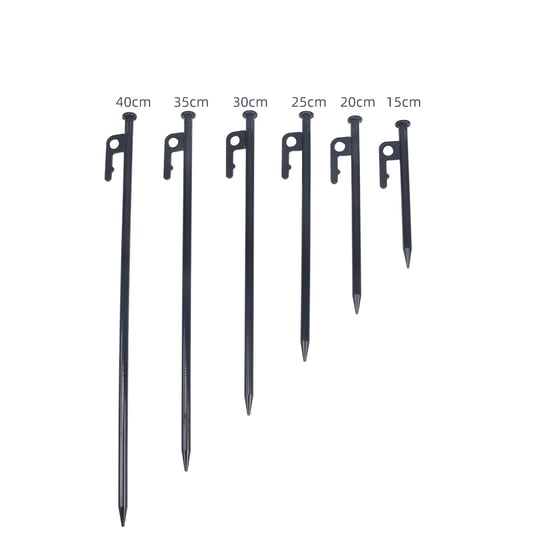
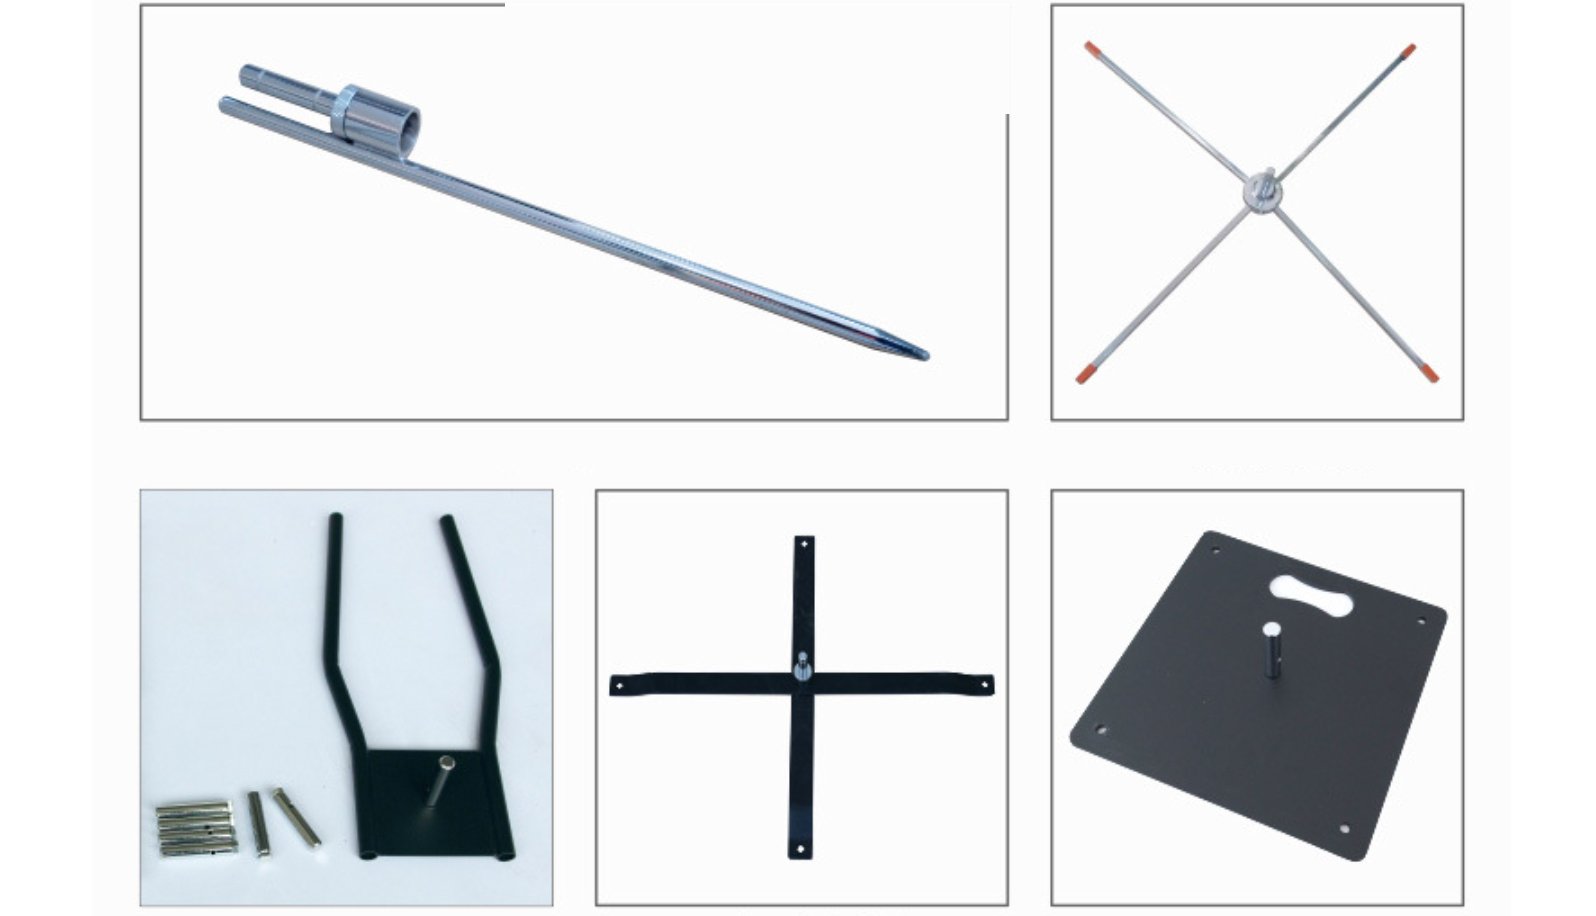
Feather flags can be displayed using different base options, depending on your needs. The most common base options include ground stakes, cross bases, and water-filled bases. Select the base option that suits your intended display location and assemble it according to the manufacturer's instructions.
Step 6: Insert the Pole into the Base
With the base assembled, it's time to insert the pole. If using a ground stake, simply push it into the ground until only a few inches are exposed. For cross bases and water-filled bases, follow the specific instructions provided by the manufacturer to ensure a secure fit.
Step 7: Adjust the Flag Height
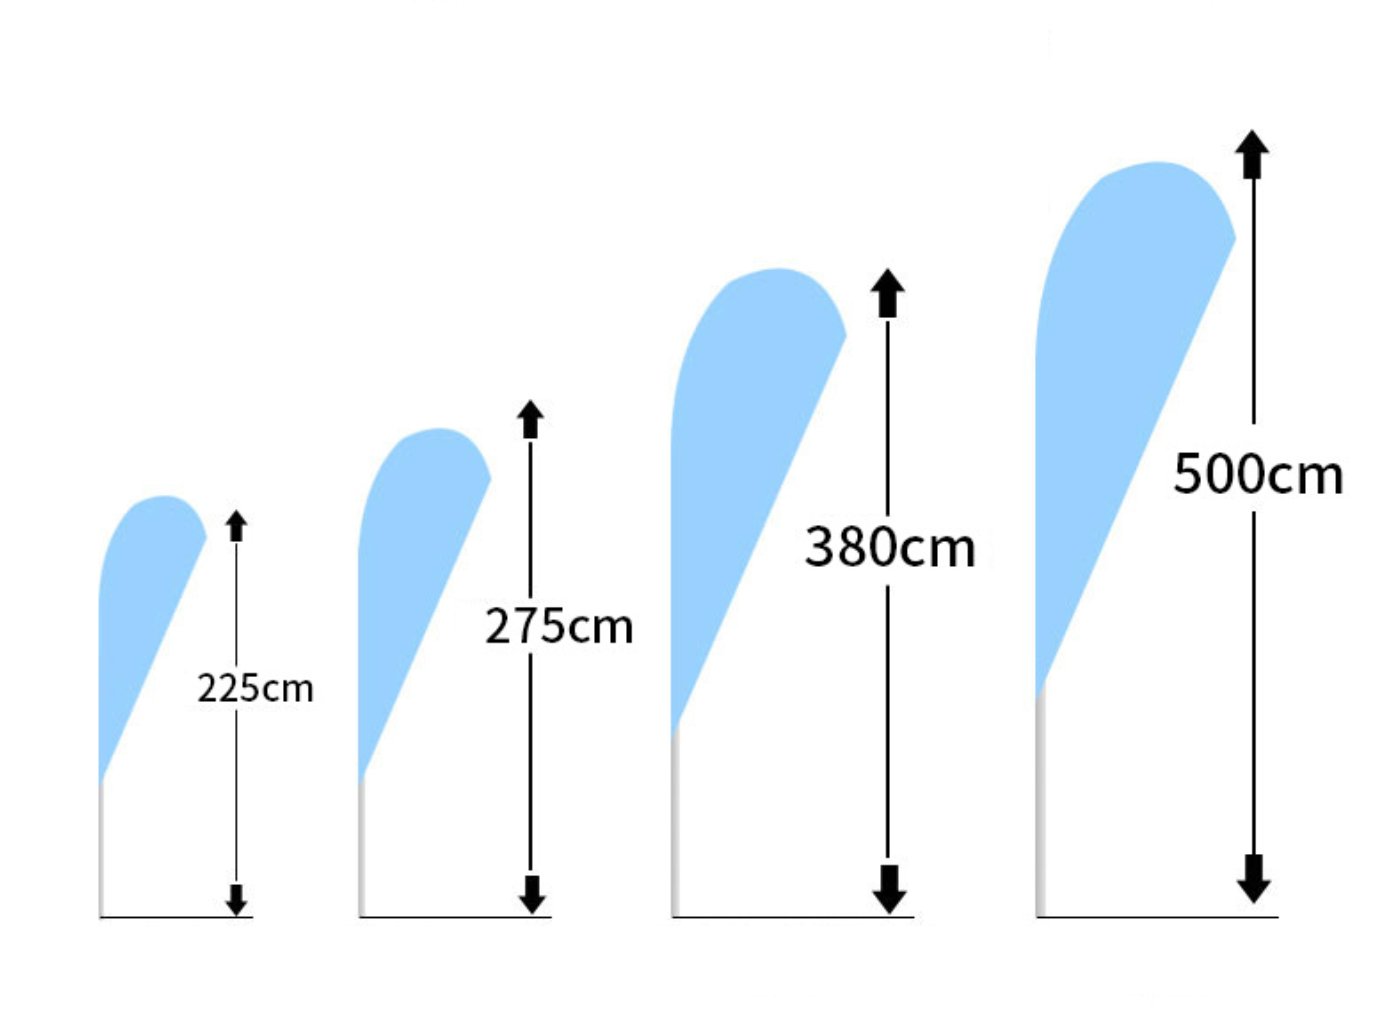
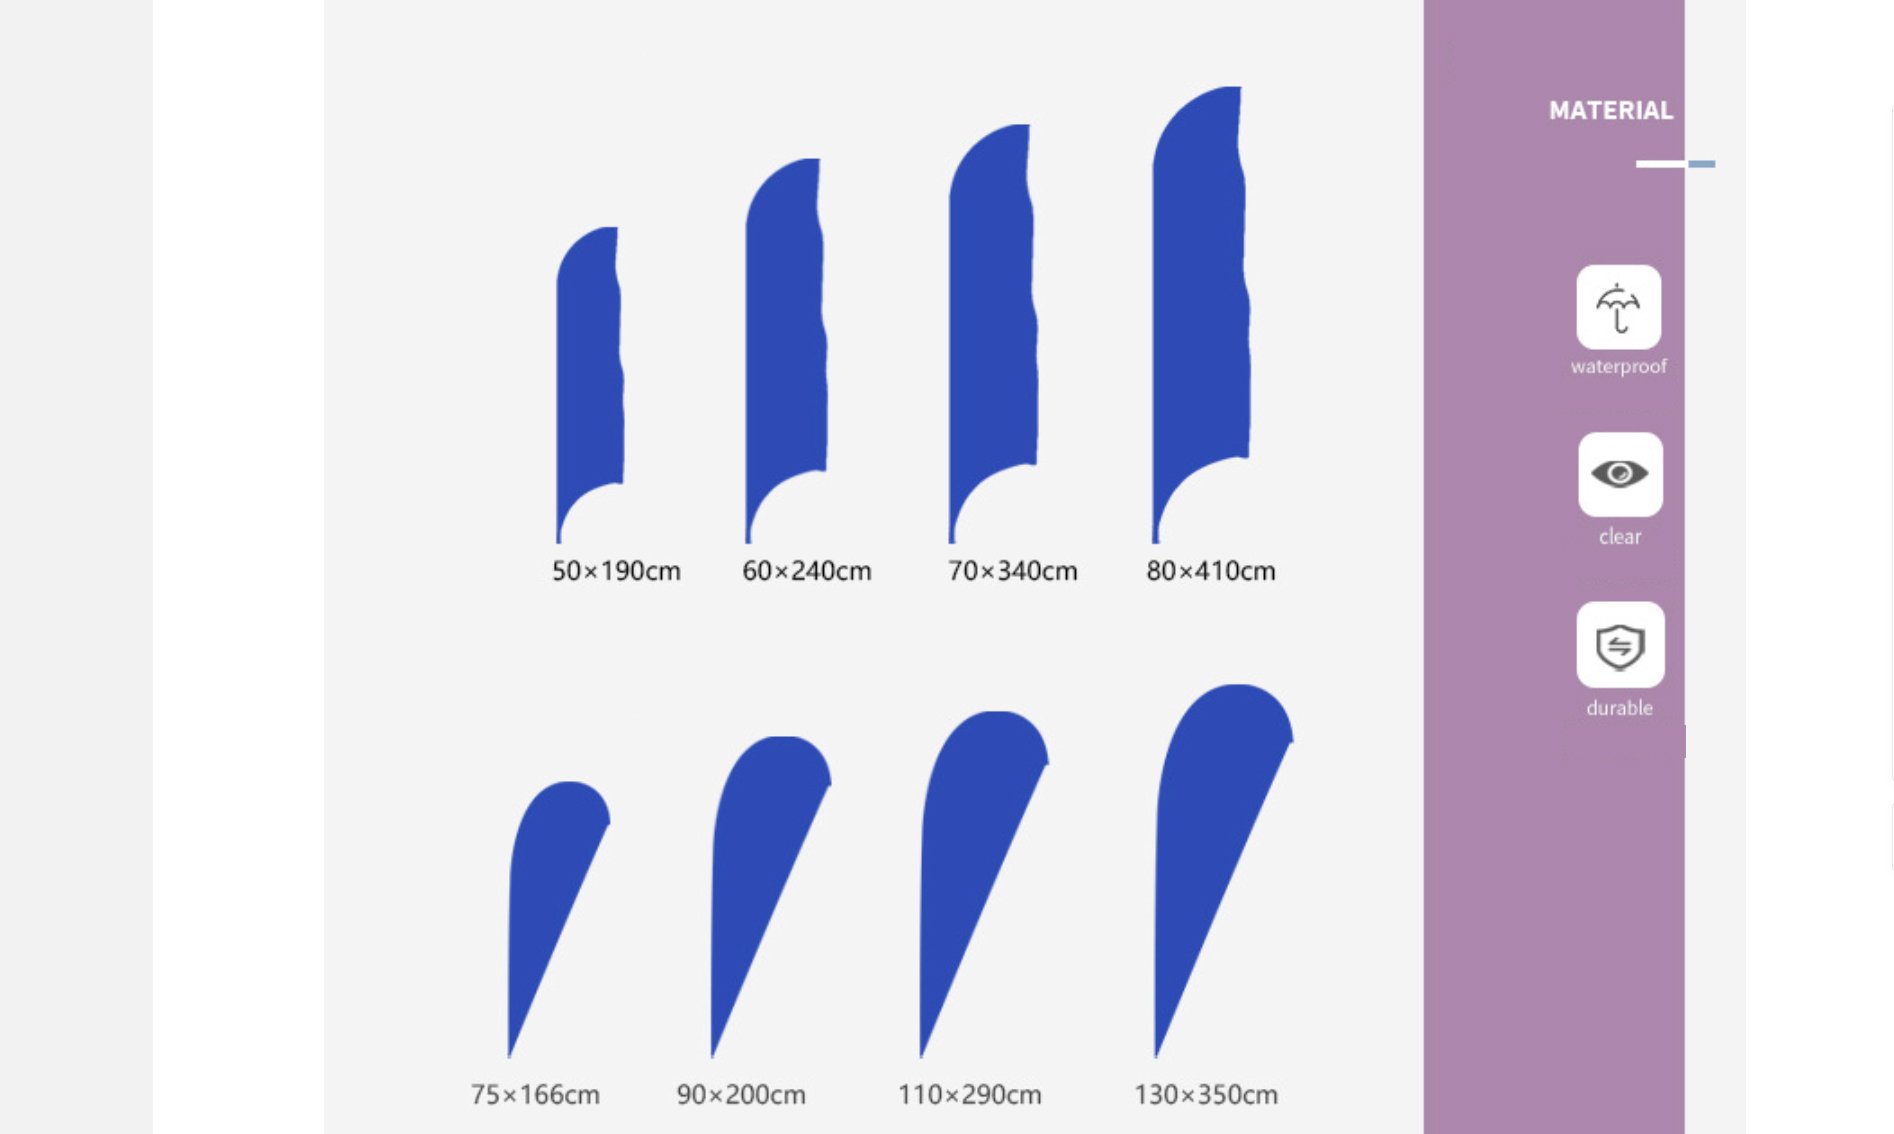
Feather flags come in various sizes, and you may need to adjust the height to achieve the desired visibility. Most flags have an adjustable telescopic pole that allows you to increase or decrease the height. Adjust the pole according to your preference, ensuring that the flag is clearly visible from a distance.
Step 8: Ensure Stability
Before leaving your feather flag unattended, it's important to ensure its stability. Make sure the base is securely attached to the pole and the flag is properly secured with bungee cords. If necessary, use additional weights or sandbags to provide extra stability, especially in windy conditions.
Step 9: Maintenance and Storage
To prolong the lifespan of your feather flag, regular maintenance is essential. Clean the flag and pole regularly to remove dirt and debris. When not in use, disassemble the flag and store it in a dry and safe place to prevent damage.
Step 10: Enjoy the Impact of Your Feather Flag
Now that you have successfully assembled your feather flag, it's time to enjoy its impact. Place it in a strategic location, where it can attract attention and effectively promote your business or event. Monitor its condition periodically and make any necessary adjustments to ensure its continued effectiveness.

